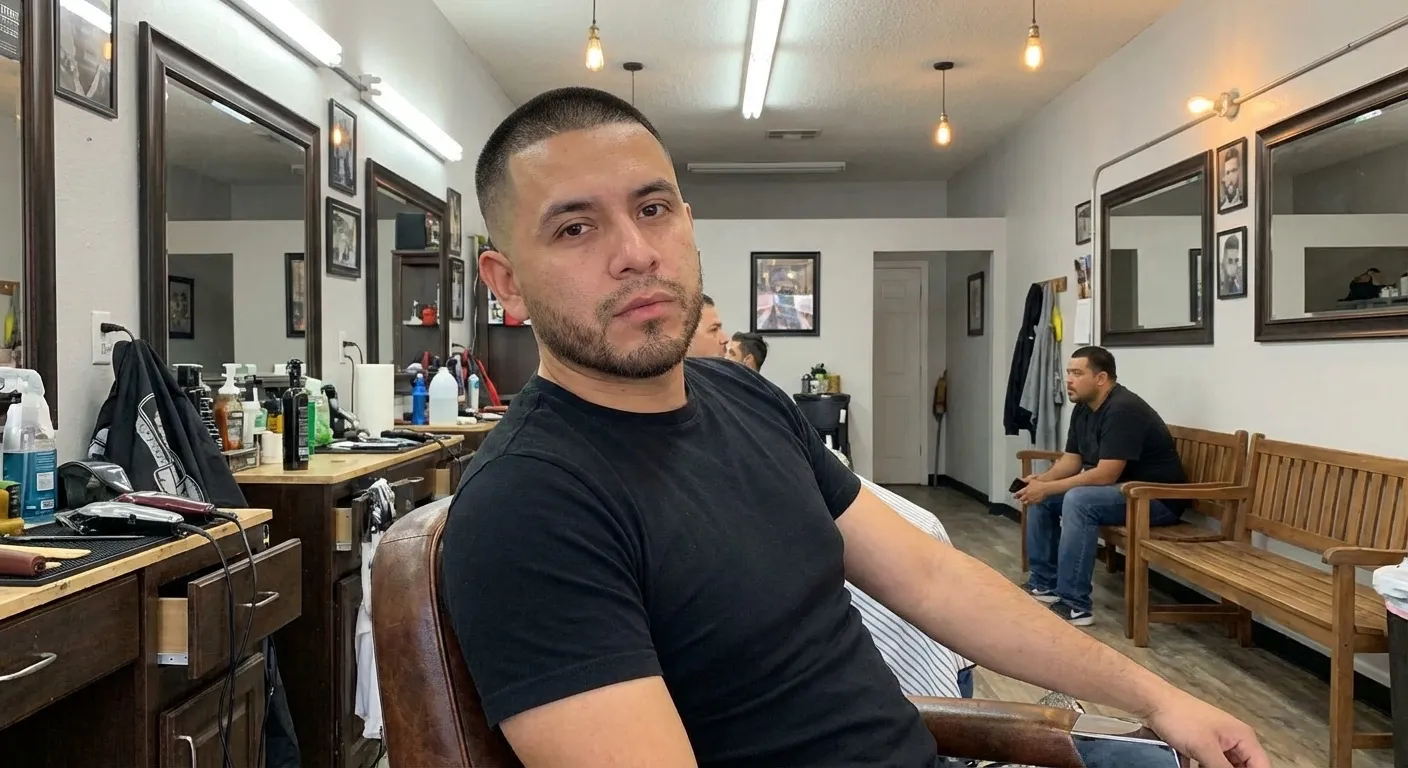
I scrolled through a barber’s Instagram last week. Good cuts. Solid fades. But every photo was taken from a different angle, with different lighting, and no before shot. Just a finished haircut against a cluttered background. His grid looked like a random collection of snapshots, not a portfolio.
He had 1,200 followers and told me Instagram “doesn’t work” for getting clients.
Instagram works fine. His photos didn’t.
83% of Instagram users say they discover new services on the platform. And according to Boulevard’s 2025 industry report, clients who book online after finding you through social media are 2x more likely to return than walk-ins. The funnel exists. But the before-and-after photo is where most barbers break it.
What makes a before and after photo convert
A before-and-after that converts has three things: consistency, contrast, and context.
Consistency means the before and after are shot from the same angle, same distance, same lighting. The viewer’s eye should only register the haircut changing, not the entire frame shifting. When everything else stays constant, the transformation sells itself.
Contrast means the difference is obvious. A grown-out, shaggy before next to a crisp fade communicates skill in a single glance. This is why you should encourage clients to come in a little grown out rather than maintaining their cut between visits. The bigger the visual gap, the stronger the content.
Context means the viewer can imagine themselves in that chair. A clean background, a professional setting, natural or consistent lighting. Not a blurry phone shot with a mop bucket in the corner.
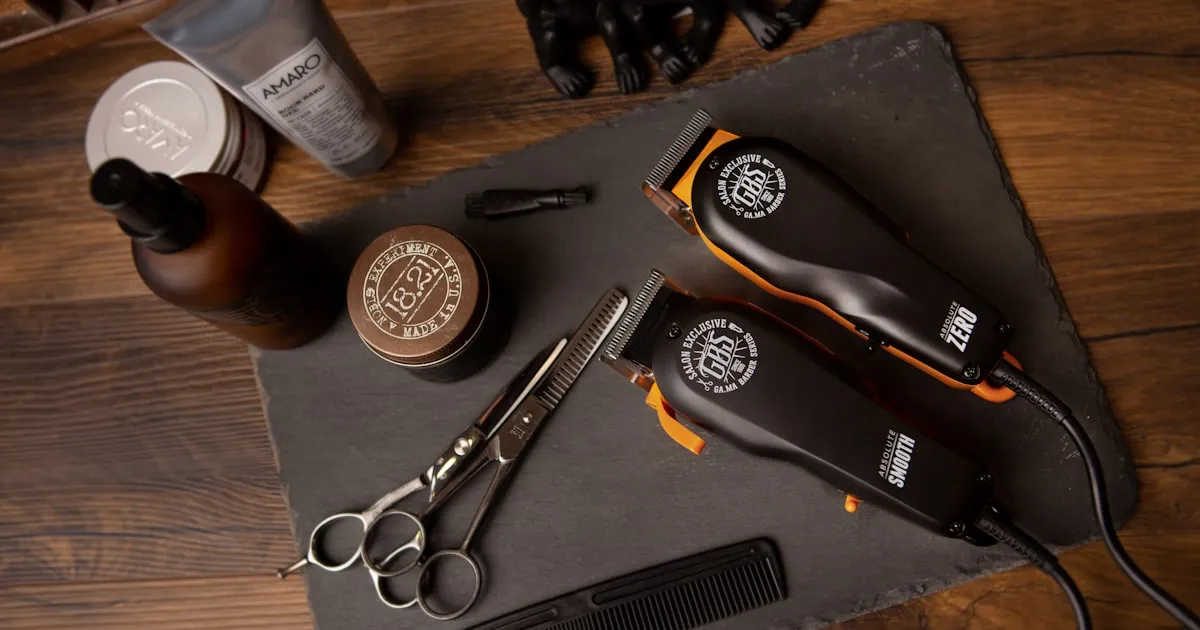
The setup that costs less than one haircut
You don’t need a studio. You need a system.
| Equipment | Cost | Why |
|---|---|---|
| Phone tripod with flexible legs | $12-15 | Same angle every time |
| Ring light (12-inch) | $20-25 | Consistent lighting regardless of time of day |
| Neutral backdrop (white wall or curtain) | $0-10 | Clean background, no distractions |
| Phone holder/clamp | $8 | Stable framing for video and stills |
Total investment: under $55. That’s less than two haircuts at most shops.
The tripod is the single most important piece. I propped mine on my station counter, aimed at the chair at a 45-degree angle, and left it there permanently. Every before-and-after was shot from the exact same position. That consistency across dozens of posts turned my grid into a visual portfolio that said “this person knows what they’re doing” without a single word of copy. If you specialize in one type of cut, that visual consistency gets even stronger.
Shoot the before. Every time.
Most barbers skip the before photo because the client just sat down and it feels awkward. Get over it. The before is half the story.
I keep it simple: “Let me grab a quick photo before we start. I like to document my work.” Nobody has ever said no. Most clients find it flattering. Some even fix their posture.
✅ Make it routine
Take the before photo within 30 seconds of draping the client. Don’t ask if they want to be photographed. Say “Let me grab a quick shot for my portfolio.” It becomes part of the service flow, like adjusting the cape. If a client says no, respect it and move on.
Shoot the before from three angles: front, 45-degree, and profile. The after shot should match those same three angles exactly. Later, when you’re editing, you pick the pair with the most dramatic contrast.
Reels beat static for reach, but carousels beat both for engagement
This is where most barbers make the wrong choice.
Social Insider’s 2025 benchmarks show that Reels hit a 30.81% reach rate, more than double the 14.45% for carousels. But carousels generate 12% more total interactions per post and drive higher save rates.
For before-and-after content specifically, the carousel format works better for conversion. Here’s why: a carousel lets you control the reveal. Slide one is the before. Slide two is the after from the same angle. Slide three can be a detail shot or a different angle. The swipe mechanic creates suspense. People save carousels to show their own barber what they want.
How I split my weekly content
My weekly mix: three Reels for reach, two carousels for engagement and saves, and daily Stories to stay visible to existing followers. The Reels bring new people in. The carousels convince them to book. I broke down the full Reels posting system that brings in new clients separately — it pairs directly with this photo strategy.
Lighting makes or breaks it
Bad lighting is the number one reason before-and-after photos look amateur. Overhead fluorescent bulbs cast shadows that flatten the haircut and wash out detail. A ring light solves this for $20.
Position the light at face height, directly in front of the client, slightly above eye level. This eliminates harsh shadows under the jawline and highlights the texture and lines of the cut. The goal is to show crisp edges, clean fades, and skin contrast. No filter can fix what bad lighting ruins at capture.
If you’re shooting Reels of the process, keep the ring light in the same position. The consistent lighting across your content is what makes your grid look professional rather than random.
The caption formula
A before-and-after with no caption is a missed opportunity. But a wall of text kills the scroll.
I use a three-line format:
- What the client asked for. “Low taper, textured top, cleaned up the beard.”
- One technique detail. “Blended with a 0.5 guard into scissors on top.”
- Call to action. “Link in bio to book.”
That’s it. Short enough to read in three seconds. Specific enough to signal competence to anyone looking for that style. The technique detail is key because it separates you from every other barber posting “fresh cut” with a fire emoji.
Your grid is your portfolio
54% of Instagram users say they’re more likely to buy from brands they follow. For a barber, “buying” means booking. And the decision to follow usually happens in the first three seconds of visiting your profile.
What do those three seconds look like? Your grid. The top nine photos. If those nine posts are consistent before-and-after transformations with clean lighting and a neutral background, the visitor thinks: “This person is good and consistent.” If those nine posts are a mix of selfies, food photos, a random sunset, and one haircut, they scroll on.
💡 The nine-square test
Open your Instagram profile right now. Look at just the top nine posts. Would a stranger who needs a haircut this week know that you’re a skilled barber from those nine images alone? If not, your grid needs work.
I audit my grid every two weeks. If a non-haircut post pushes my transformation photos below the fold, I archive it. My Instagram exists to book clients. Everything on it should serve that purpose.
How better photos increased my bookings by 40%
When I switched from random phone shots to a consistent before-and-after system, my profile visits went up 40% in the first month. DMs asking about availability doubled. Within two months, I was getting 5 to 7 booking inquiries per week directly from Instagram.
The photos didn’t get “better” in the sense that my cuts improved. The cuts were the same. The documentation improved. Same skill, better packaging.
You’re already doing the hard part. The haircut is the product. A before-and-after photo that follows a consistent format, uses decent lighting, and goes up on a regular schedule is just the wrapper. And in a feed full of blurry phone shots and fire emojis, a clean wrapper stands out.
Buy the tripod. Set it up once. Shoot every client. Post the best three pairs each week.
Your next client is scrolling right now. If you’re still building your client base, these photos are one of the three channels that got me to 100 clients.